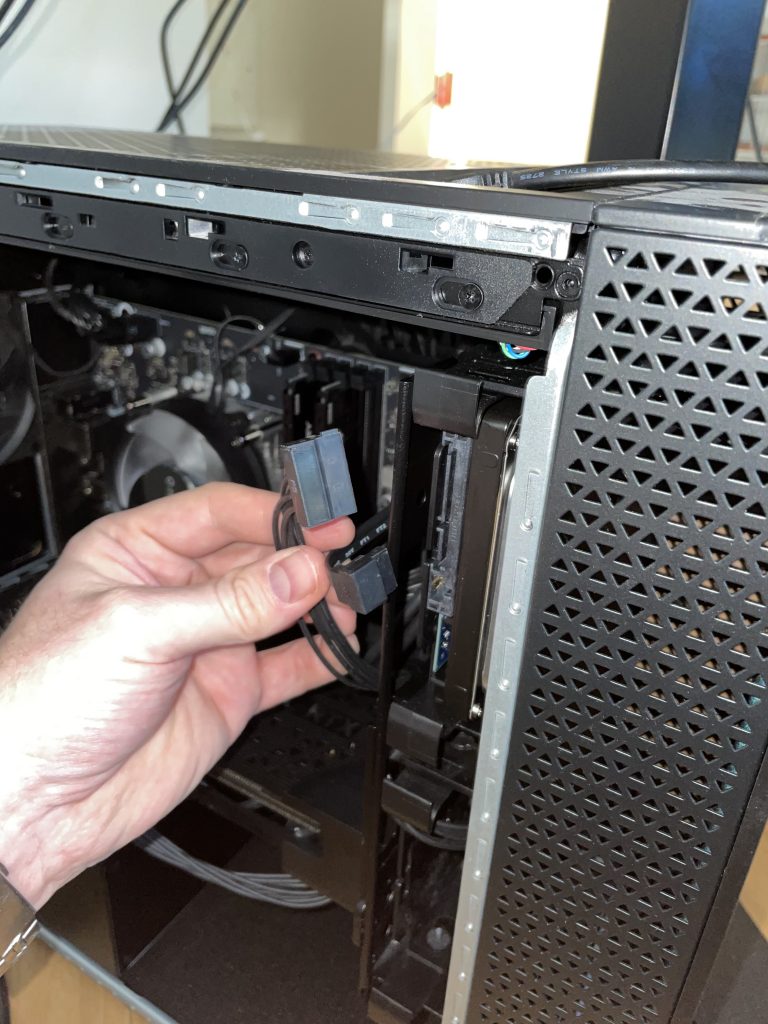
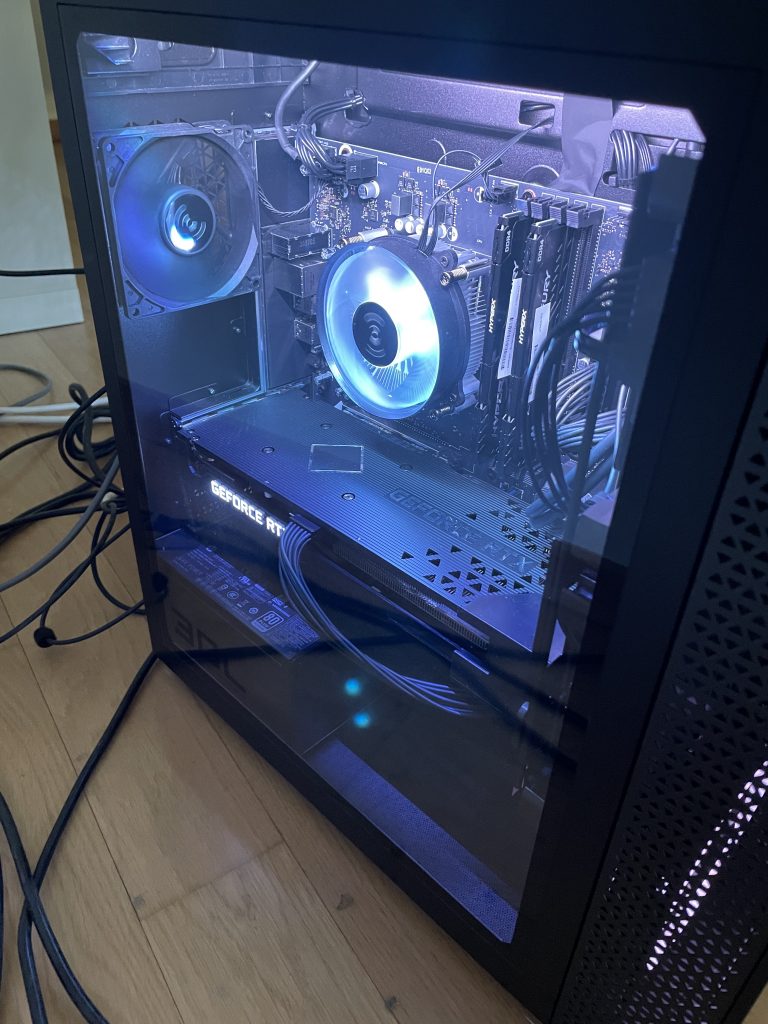
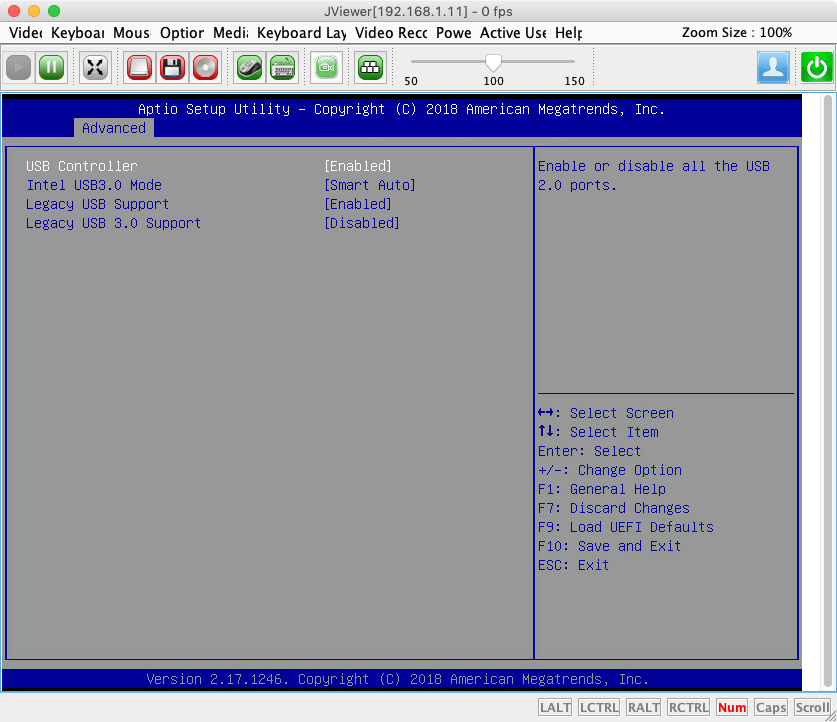
A nice summary by Werner Fischer (Thomas-Krenn) about how to enable and use Serial over LAN, particularly for Linux boxes:
(In German, but you can easily translate it using your favourite online translation tool, e.g. deepl.com or Google Translate)
math-captcha
domain was triggered too early. This is usually an indicator for some code in the plugin or theme running too early. Translations should be loaded at the init
action or later. Please see Debugging in WordPress for more information. (This message was added in version 6.7.0.) in /var/www/news.numlock.ch/public_html/wp-includes/functions.php on line 6114Make a diff!
A nice summary by Werner Fischer (Thomas-Krenn) about how to enable and use Serial over LAN, particularly for Linux boxes:
(In German, but you can easily translate it using your favourite online translation tool, e.g. deepl.com or Google Translate)
It might be worth taking a closer look at Clip OS, a relatively new, security focused Linux distribution by the ANSSI, based on Hardened Gentoo and with some similarities to Qubes OS.
“File History”, the built-in backup functionality of Windows 10, leaves a lot to be desired. It starts with a totally non-intuitive, “dumbed-down” user interface (displaying a backup size of 0 bytes, “backing up your data…” and an enabled “Back up now” button at the same time) and ends with lacking transparency (no information about progress and speed at all) and checkability in general.
Luckily, there’s a better open source alternative: Duplicati
Duplicati might not be the fastest backup solution either, but it has a good, intuitive GUI and wizard. And it’s fully transparent and highly adjustable.
Recently I ran out of space on a Boot Camp partition with Windows 10 Pro. So I looked around for ways to make more space for Windows by shrinking the macOS partition and enlarging the Windows partition. Apple doesn’t officially support this in Boot Camp without reinstalling Windows, and doing these operations by hand, e.g. with the help of GNU Parted, is time consuming and tedious.
Luckily, I stumbled over Paragon CampTune, a commercial macOS utility (ready for 10.14 Mojave) that automates these tedious tasks and allows to resize the macOS and Boot Camp partitions on the fly, without having to reinstall Windows or macOS.
It finally worked wonderfully, the only irritating thing was that the tool showed a bland error at the first start of the repartitioning process: “Object not found”. After restarting the process with slightly different partition sizes, it could be successfully completed.
I can thus recommend this handy utility as it can save hours of work for a few bucks (ca. 22 USD).
GitLab 10.5 introduced built-in support for Let’s Encrypt.
Unfortunately, if you follow the official GitLab instructions how to enable Let’s Encrypt support, you may encounter the following error when rebuilding GitLab:
Running handlers:
There was an error running gitlab-ctl reconfigure:letsencrypt_certificate[yourhost.yourdomain.com] (letsencrypt::http_authorization line 3) had an error: RuntimeError: acme_certificate[staging] (/opt/gitlab/embedded/cookbooks/cache/cookbooks/letsencrypt/resources/certificate.rb line 20) had an error: RuntimeError: [yourhost.yourdomain.com] Validation failed for domain yourhost.yourdomain.com
Running handlers complete
Chef Client failed. 11 resources updated in 11 secondsWarnings:
Let’s Encrypt is enabled, but external_url is using http
The last line is rather misleading, as the domain validation can apparently also fail if one sets external_url = “https://yourhost.yourdomain.com”
As a workaround, add the following two additional lines to /etc/gitlab/gitlab.rb (hat tip to Kai Mindermann and Thomas Jost for the hints):
nginx['redirect_http_to_https_port'] = 80 nginx['redirect_http_to_https'] = true
So, all in all, you need to set in /etc/gitlab/gitlab.rb:
external_url 'https://yourhost.yourdomain.com'
and add the following lines (adjust the notification e-mail address):
letsencrypt['enable'] = true letsencrypt['contact_emails'] = ['gitlab-notifications@yourdomain.com'] # optional nginx['redirect_http_to_https_port'] = 80 nginx['redirect_http_to_https'] = true
Make sure that your firewall doesn’t block access to ports 22 (SSH), 80 (HTTP), 443 (HTTPS).
After that, reconfigure GitLab (in a shell):
# gitlab-ctl reconfigure
That’s it! You can now register/login at https://yourhost.yourdomain.com.
This blog has just been migrated to a newer and (much) faster host node running Proxmox 5 with ZFS.
Therefore, I was looking for the best method to migrate a WordPress blog to another server (and/or database and/or directory and/or URL).
Do you remember the times when migrating a WordPress blog was rather tedious, involving many manual steps, despite (other) handy tools like WP-CLI? Apparently, this is no longer needed, as all you need is the following plugin:
This plugin’s export and import functionality takes care of all the required configuration and path adjustments, allowing you to easily migrate a blog with up to 512 MB data. The steps are thus:
It’s hard to believe, but that’s really it!
When upgrading Ubuntu 14.04 LTS to 16.04 LTS the usual way, ‘do-release-upgrade’ will by default remove 3rd party packages. For a Zimbra/ZCS server this means that Zimbra/ZCS packages would be automatically removed when upgrading to Ubuntu 16.04 LTS.
Luckily, there’s a neat little trick to prevent ‘do-release-upgrade’ from removing Zimbra/ZCS packages during the upgrade. Here’s how to do it:
$ screen -R
$ sudo /etc/init.d/zimbra stop
$ sudo apt-get update && sudo apt-get upgrade
$ sudo do-release-upgrade
(if you don’t have do-release-upgrade, you have to execute ‘sudo apt-get install update-manager-core’ first)
# deb [arch=amd64] https://repo.zimbra.com/apt/87 xenial zimbra # disabled on upgrade to xenial # deb-src [arch=amd64] https://repo.zimbra.com/apt/87 xenial zimbra # disabled on upgrade to xenial
to
deb [arch=amd64] https://repo.zimbra.com/apt/87 xenial zimbra deb-src [arch=amd64] https://repo.zimbra.com/apt/87 xenial zimbra
Then return to the first terminal/screen session and let ‘do-release-upgrade’ continue with the upgrade process (i.e. hit ‘enter’).
After this, Zimbra/ZCS should work nicely again, on Ubuntu 16.04 LTS.
Note: It can take Zimbra/ZCS quite some time to properly start all its services (it’s Java, after all). Sometimes, the output of ‘$ sudo /etc/init.d/zimbra status’ and what’s listed in the service monitoring section of the Zimbra/ZCS admin webUI can thus be inconsistent. Sometimes, it’s even necessary to stop and start Zimbra/ZCS a couple of times (with ‘/etc/init.d/zimbra’) after an upgrade until all services run nicely.
Also note that Zimbra’s new dedicated ‘imapd’ service won’t run properly, unless it’s configured manually, as shown in the Zimbra Collaboration Administrator Guide version 8.8.3. If it doesn’t run properly, this service will simply be ignored in a single server setup, your Zimbra/ZCS will thus likely work as usual.
If there are any problems or if you want to be extra cautious, you can also additionally download Zimbra/ZCS 8.8 for 16.04 LTS manually and run its installer again:
$ sudo ./install.sh
If everything is fine, unblock the SMTP and SMTPS (and IMAP and IMAPS) ports again.
If things aren’t fine, simply roll-back from the snapshot or restore the whole server from the backup.
You might then want to try a fresh install according to the official Zimbra/ZCS migration manual: How to move ZCS to another server.
(Source: Kudos to vchong68 for his valuable hint in his forum post)
With the recent changes in Skype, the “traditional” method of running several Skype instances using different system users doesn’t work anymore (as the the new authentication dialog strangely doesn’t get the focus anymore).
So, in order to use several Skype accounts on macOS (formerly known as Mac OS X), do the following:
do shell script "open -na /Applications/Skype.app/Contents/MacOS/Skype --args -DataPath '/Users/your_system_user/Library/Application Support/Skype_any_identifier'"
Replace your_system_user by your regular macOS user account (see ‘whoami’ in Terminal)
Replace _any_identifier by the according Skype account name, e.g. _myskypename (doesn’t really matter what, just don’t use an empty string)
Please mind the double quotes and single quotes (important!)
Repeat these steps for any of your Skype accounts, giving each Skype account a different Skype_any_identifier. You can then start the according Skype instances by double clicking on the according app.
Explanation:
The above script starts a new instance of Skype (which would otherwise be prevented), using the -n argument. Each instance of Skype gets its own directory to store the according account data, using the -DataPath argument.
A useful post how to fsck (check and fix) a filesystem in a qcow2 image (as typically used for KVM VMs, e.g. in Proxmox):
How to recover a qcow2 file using fsck
On Proxmox or Debian, one does the following:
Attention:
# modprobe nbd max_part=8 # qemu-nbd --connect=/dev/nbd0 /var/lib/vz/images/100/vm-100-disk-1.qcow2 # fdisk -l /dev/ndb0 /dev/nbd0p1 2048 7813119 3905536 82 Linux swap / Solaris /dev/nbd0p2 * 7813120 119537663 55862272 83 Linux # fsck.ext4 /dev/nbd0p2 # fsck.ext4 -p /dev/nbd0p2 # qemu-nbd --disconnect /dev/nbd0
Like this, one doesn’t need to boot the VM using a boot ISO/CDROM and can fix the filesystem right from the host node.
Overview of recorded presentations:
https://media.ccc.de/b/congress/2015
My list of particularly interesting presentations (mostly for myself – disclaimer: I haven’t watched all of these presentations yet as I didn’t make it to Hamburg this year):